How to Create a Timeline in PowerPoint
Do you want to create a timeline for visualizing your projects? Read this article to know how to create a timeline on PowerPoint effortlessly.
Edraw Content Team
Do You Want to Create Timeline?
EdrawMind helps move ideas forward, faster and better. Learn from this guide to know everything about how to create a timeline. Just try it free now!
To accomplish perfection in the work projects, experts and professionals create timelines to visualize a well-structured roadmap. The benefits of creating timelines for your projects are numerous such as you can plan the work schedules and can highlight critical aspects to avoid obstacles. Moreover, you can closely observe the work progress to evaluate your current performance.
To become a perfectionist in your work field, this article will provide a descriptive guide on how to create a timeline in PowerPoint easily. We will also provide the best alternative to PowerPoint if you encounter any hurdles in creating a timeline flawlessly.
1. How to Create a Timeline in PowerPoint
PowerPoint is an excellent tool and program to design impressive presentations and timelines by utilizing various features. You can either select from its provided templates, or you can start by creating your design. Furthermore, it gives tons of tools to add text, graphics, transitions, and attractive designs.
Hence, it proves to be an efficient tool for crafting well-structured timelines for various projects. To learn how to create a timeline in PowerPoint, read the following steps carefully:
Craft a Timeline Design
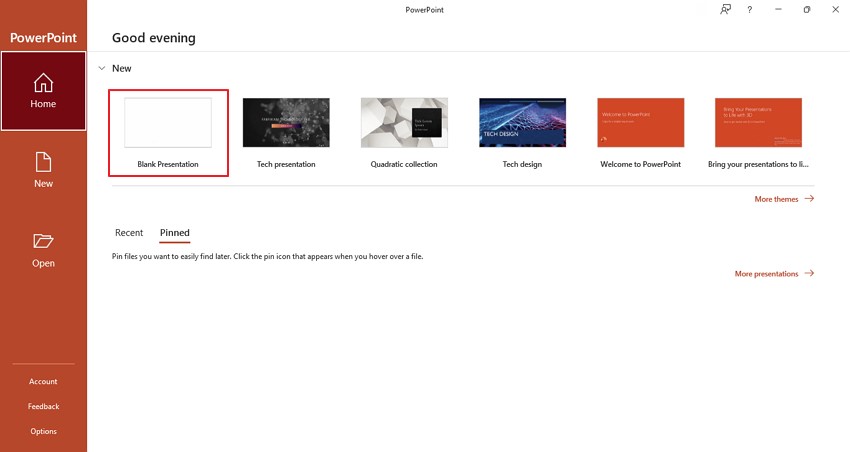
Step 1: Open the PowerPoint tool on your PC and create a new blank presentation. Now add a new slide to the presentation to continue.
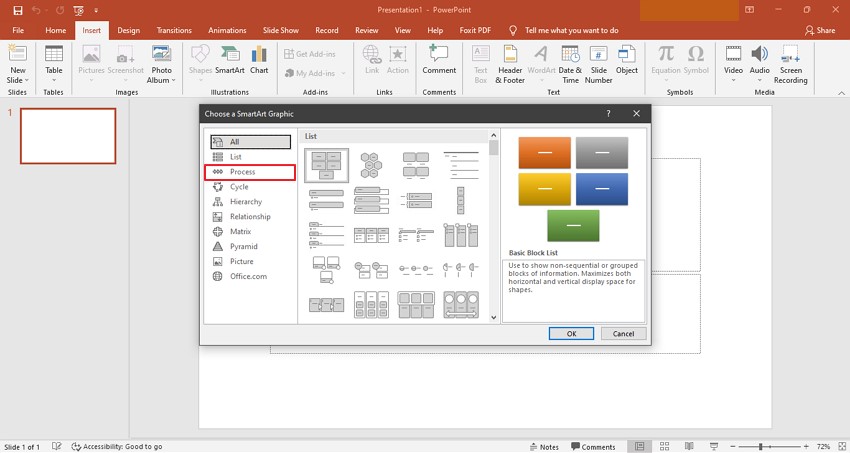
Step 2: Navigate to the "Insert" tab displayed on the menu bar and click on the option of "SmartArt." Now you can see multiple options of SmartArt graphics on the left side from where you select the tab "Process."
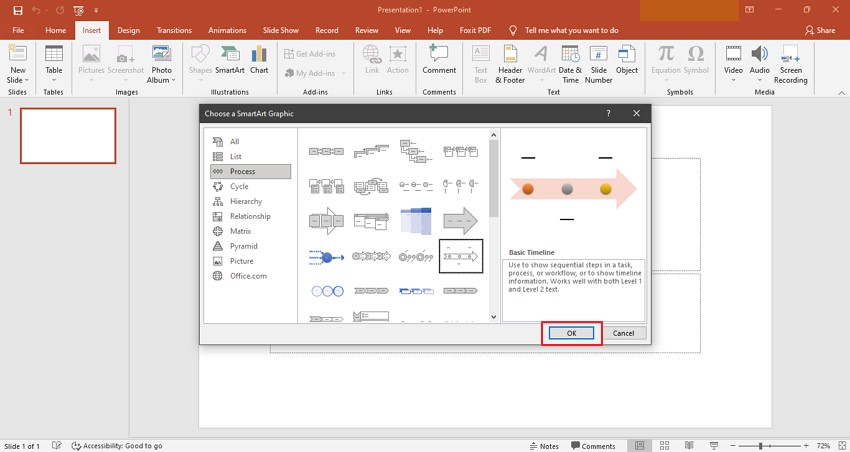
Step 3: On the process tab, click on the "Basic Timeline" template and tap on the "OK" button to add it.
Add Required Information
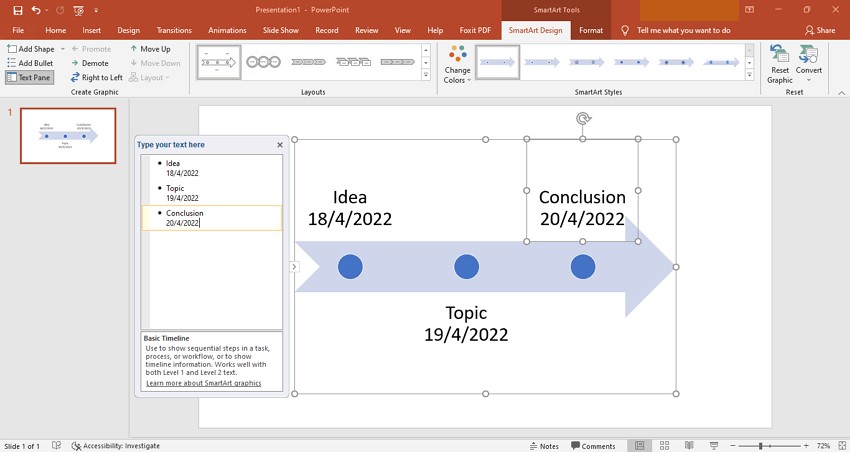
For a simple timeline, PowerPoint will display 3 positions of milestones on your screen. Add your data by either using the text pane or by clicking on the "Text" milestone directly. To add a bullet point, press "Enter," and for a line break, press "Shift + Enter." The size of the entered text will be adjusted automatically by PowerPoint.
Add Templates to Timeline
To customize your timeline, SmartArt provides various vibrant templates that you can apply to your timeline for a distinctive look. To access these templates, reach the "SmartArt Design" tab on the menu bar and click on the "SmartArt Styles" tab, and explore the offered options.
Timeline Editing Tips
PowerPoint enables the users to add and change various elements to the timeline for an attractive outlook. Here are some of the tips that you can implement to design your timeline according to your preferences.
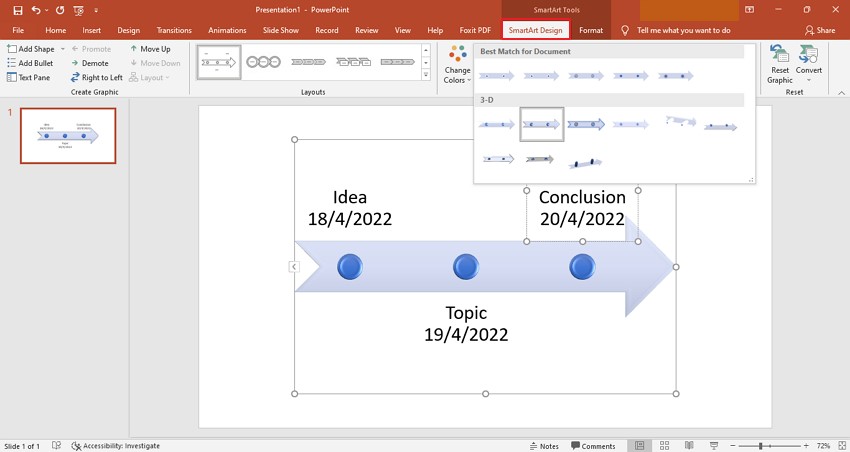
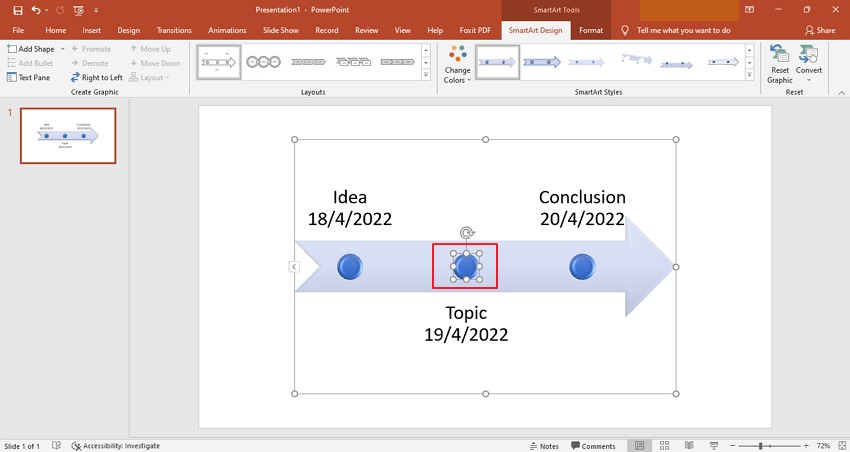
- You can change the position of milestones on the timeline according to your demand by using the drag and drop feature. You can also bring the milestones closer to the written descriptions for better comprehension.
![use a template design]()
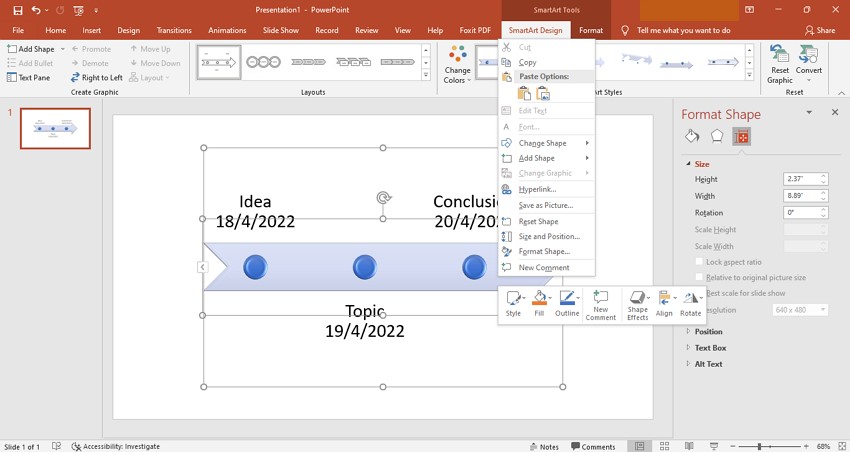
- PowerPoint also allows you to change the width and color shade of the timeline axis instantly. By right-clicking on the arrow, you can pick various colors to apply.
![customize the timeline settings]()
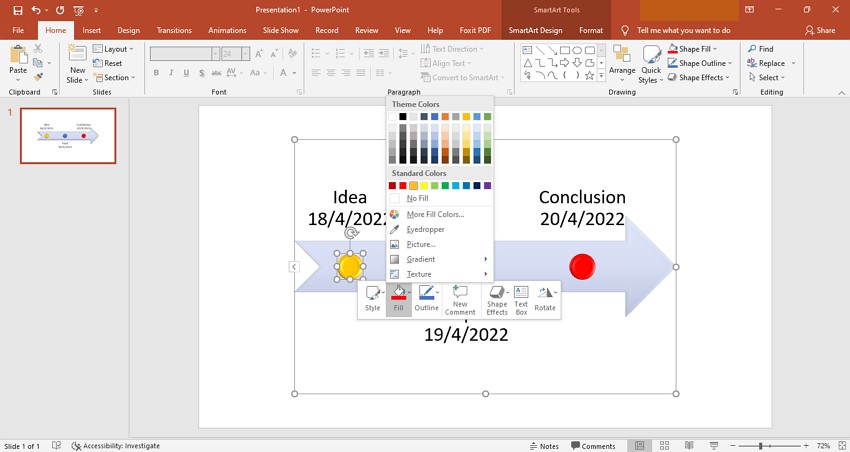
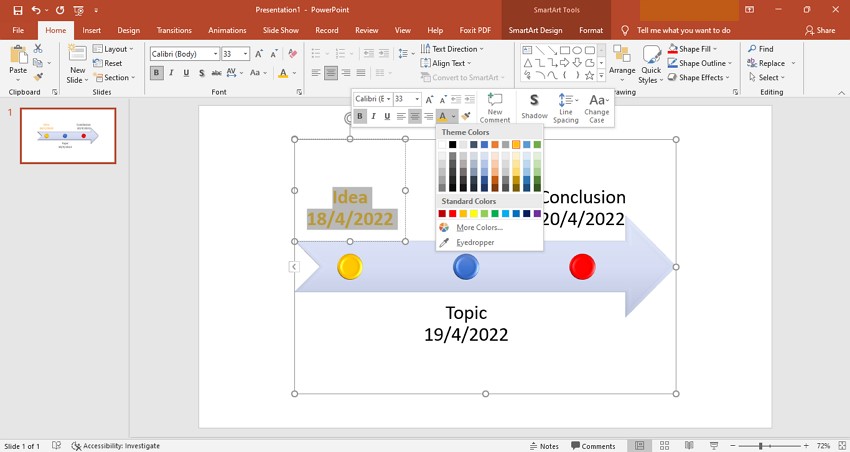
- Apart from changing the color of the timeline axis, you can also give a personal touch by replacing the color of milestones.
![change milestone color]()
- You can also vary the font size, style, and color by utilizing the option of rich text formatting.
![customize the timeline settings]()
2. Limitations of Using PowerPoint to Create a Project Timeline
Apart from the various features of PowerPoint, there are still some limitations that prevent the users from creating a perfect timeline for their work projects:
- Time Consuming: PowerPoint does not provide an optimized user interface as users have to perform every little function manually. It does not automatically adjust the shape of the timeline according to the project points, which can be time taking for many people.
- Lacks Flexibility: The versatility and flexibility of PowerPoint are very limited. You may have to begin from scratch to execute evident changes on the timeline.
- Teamwork Not Supported: To create timelines for complicated and bigger projects, you may need to include your team to give contributions simultaneously. Unfortunately, PowerPoint does not allow real-time editing in teamwork.
3. How to Create a Timeline in EdrawMind
EdrawMind is a powerful collaborative tool that comes with distinctive properties and key features to design perfect timelines. With just a single click, you can create multiple timelines for complicated work projects in an organized and simpler manner:
Step1 Select the Timeline Template
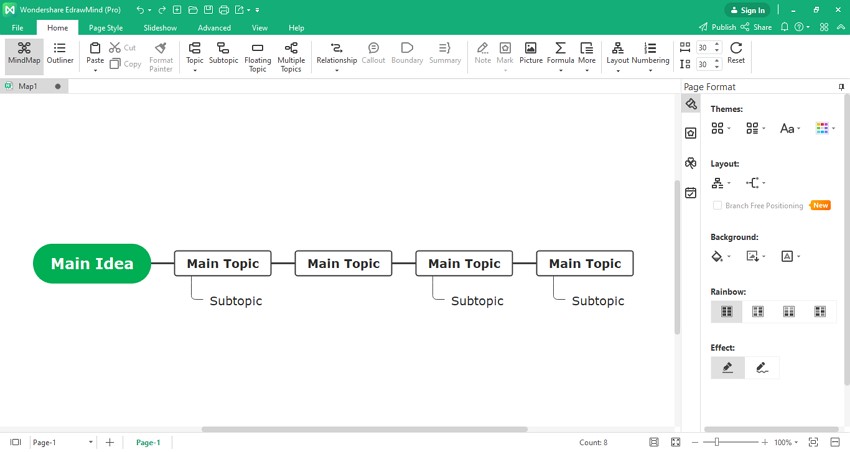
Begin with launching EdrawMind on your computer and open its user interface. On the main interface, there will be several templates of timelines, such as horizontal, vertical, and winding timelines. Choose your preferred template and click on it to begin with, the editing process.

Step2 Create the Timeline with Two Buttons
Now create your timeline quickly by using two buttons: Enter and Tab. If you wish to add a new topic across the complete timeline, you can simply press "Enter" to add the Main Topic at the end of the timeline. Conversely, if you have to add the Main Topic on a specific position, you need to approach the cell right above it. Press 'Enter' to add the Main Topic in between the timeline or "Shift + Enter" to add the Main Topic behind the selected Main Topic.
To add a sub-topic across the timeline, access a particular cell and press 'Tab' to add a Sub-Topic across the timeline.
Step3 Customize your Timeline
EdrawMind gives you tons of features to customize your timeline with captivating themes and effects. You can change the text styles, color, and backgrounds instantly from their page formatting section. Also, you can change the layout of timelines and can add clipart and rainbow effects for attractive illustrations.

4. Save an EdrawMind Timeline as PowerPoint File
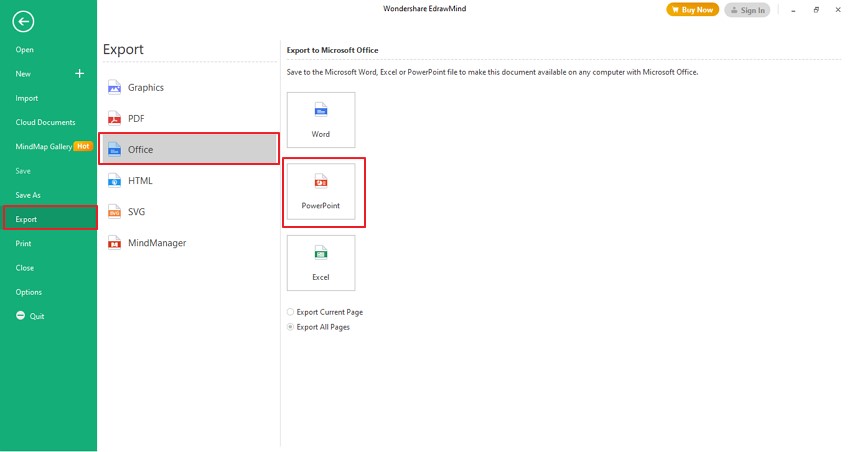
EdrawMind has an extremely simple and easy user interface to save and export timelines as a PowerPoint file. To do so, click on the "File" button from the menu bar and select "Export" from the displayed options.
Click on "Office" and choose whether you want to export the current page or all pages from the displayed window, and select the "PowerPoint" option by clicking on it. Add a name to the PowerPoint file and tap on the "Save" button to save the file on your computer.
5. Templates of Timeline in EdrawMind
In this section, we will provide some extraordinary examples of the templates offered in EdrawMind that you can use online and on a PC conveniently.
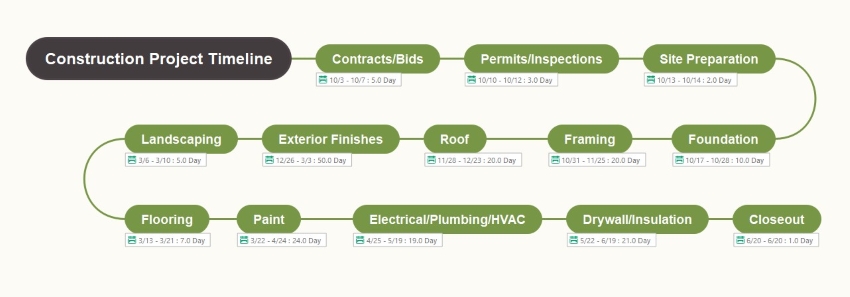
- Construction Project Timeline
![construction project timeline]() Click here to download EdrawMind
Click here to download EdrawMind
(For Win)Click here to download EdrawMind
(For Mac)Click here to download EdrawMind
(For Linux)Construction Project Timeline

To make the management of construction projects easier and organized, a project timeline can help you in various aspects. You can add milestones of the project and can check resource management and project budget to see the progress of the construction project. By using this template, you can complete the construction tasks on the given deadlines easily.
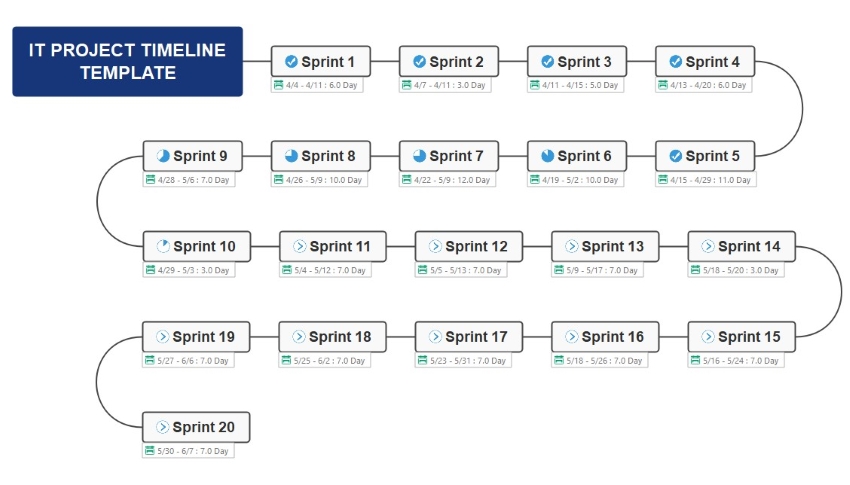
- IT Project Timeline
![IT Project Timeline]() Click here to download EdrawMind
Click here to download EdrawMind
(For Win)Click here to download EdrawMind
(For Mac)Click here to download EdrawMind
(For Linux)IT Project Timeline Like other projects, an IT project timeline can be used to schedule and organize an IT project to accomplish the due tasks on time. Through a winding timeline, you can enlist significant and critical tasks to avoid any chaos during the completion of your project. Also, it works well to look after the minor details of the project successfully.
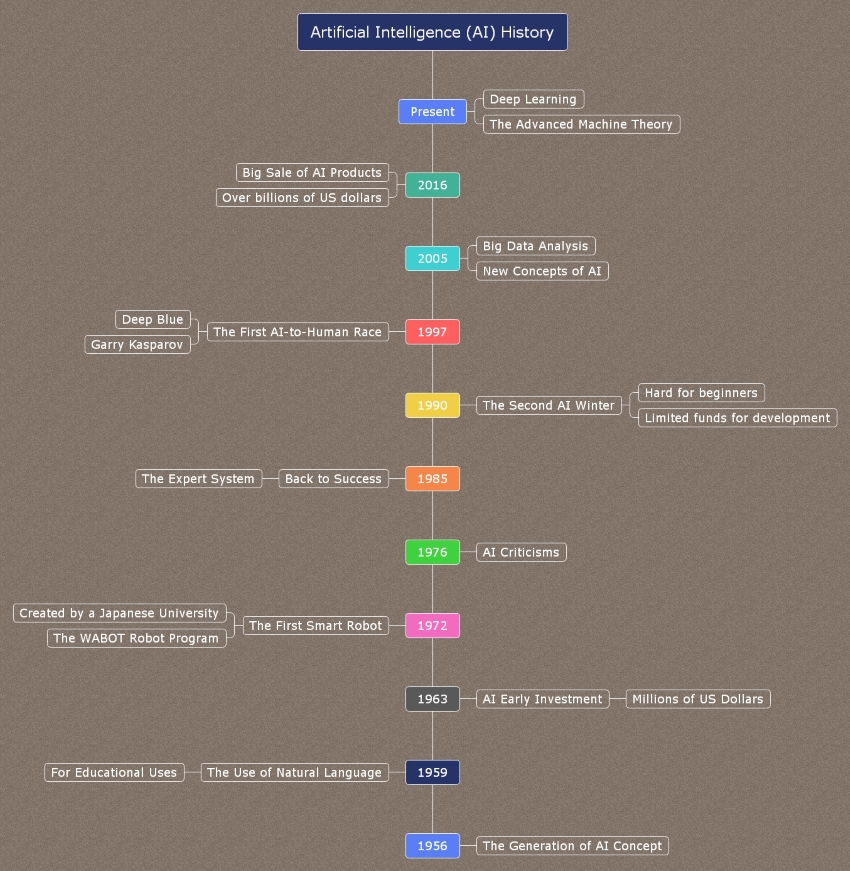
- AI History Timeline
![AI History Timeline]() Click here to download EdrawMind
Click here to download EdrawMind
(For Win)Click here to download EdrawMind
(For Mac)Click here to download EdrawMind
(For Linux)AI History Timeline History timelines are used to record and save the important events and achievements of a certain project in vertical order. For instance, the development of artificial intelligence through the decades and historical events related to it can be visually shown in an AI history timeline. So, instead of reading a book, a vertical timeline can structure the events in an organized way.
6. Tips for Creating an Effective, Engaging Presentations
To deliver your message effectively, captivating yet compelling presentations are needed to influence the audience. Here are some tips on how to create a timeline in PowerPoint which is both effective and impressive:
- Avoid Complexity
Simplicity attracts the audience as nobody is interested in comprehending complex details. Make your timeline look simple and clutter-free for better comprehension.
- Highlight the Significant Ideas
Avoid adding too many details as it can increase your workload. Highlight the important details and events to concise the text amount of the presentation.
- Visualize the Content
Graphics and pictures can help to visualize the content and can quickly grasp the attention of viewers. Add relevant graphics and images for effective presentation.
- Follow a Structured Order
You should be consistent in following a single format to display professionalism in the presentation. Make your timeline look organized and well-structured by following a similar pattern.
7. Key Takeaways
Creating timelines is the best way to plan and execute your work project in a systematic order. In this article, we have provided a descriptive guide on how to create a timeline in PowerPoint easily. At times, users look forward to making their timelines beautiful with stickers and clipart. Along with that, they also look to keep their branches organized smartly.
To make their timelines interactive, they also look forward to adding hyperlinks and attachments across them. To achieve these with enhanced user experience, we recommend EdrawMind to create timelines by utilizing its exclusive features.
You May Also Like
How to Make a Concept Map
HOW-TO & TIPS
Innovative Solutions: Learn How to Brainstorm Like a Pro
HOW-TO & TIPS