How to Create a Timeline in Word
Edraw Content Team
Do You Want to Create Timeline?
EdrawMind helps move ideas forward, faster and better. Learn from this guide to know everything about how to create a timeline. Just try it free now!
Do you know that experts in their fields construct timelines to organize their big projects? To manage and structure massive projects like constructing skyscrapers, inventing automated tools, and writing a thesis, timelines are created to note down and highlight the data and accomplishments. By doing so, people can simplify their complex work projects by crafting systematic timelines in Word.
In this article, we will offer a comprehensive guide for those who don't know how to create a timeline in Word. Along with the instructions, we also provide you with the best alternative that can replace Word for designing impressive timelines.
1. How to Create a Timeline in Word
Word is a popular and widely used program for creating and editing documents for multiple uses. You can create a document through this platform and can apply tons of fonts, page layouts, and styles. Apart from creating a word document, you can also design a timeline on this tool quickly with a few steps. In this part, we will provide steps to create a manual and SmartArt timeline easily:
Manual Word Timeline
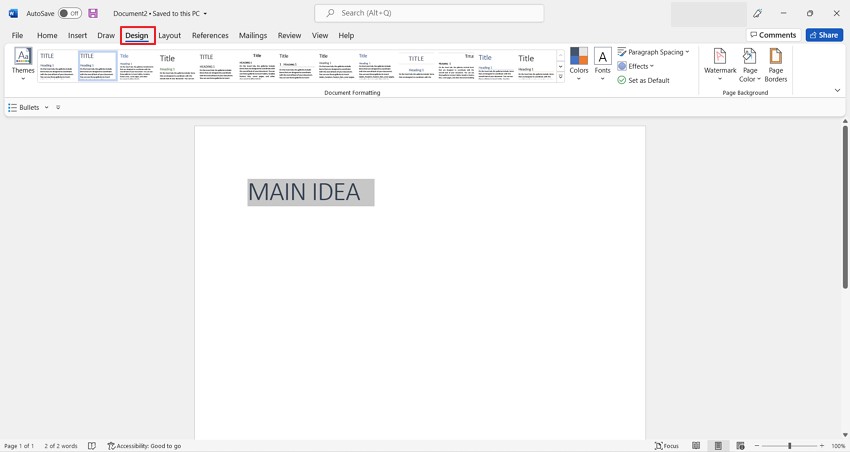
Step 1: Open a new Word file on your PC and type the title of the timeline. Navigate to the "Designs" tab and apply any design on the title.
Step 2: To create a basic timeline, proceed to the "Insert" tab and tap on "Shapes" to draw a central line.
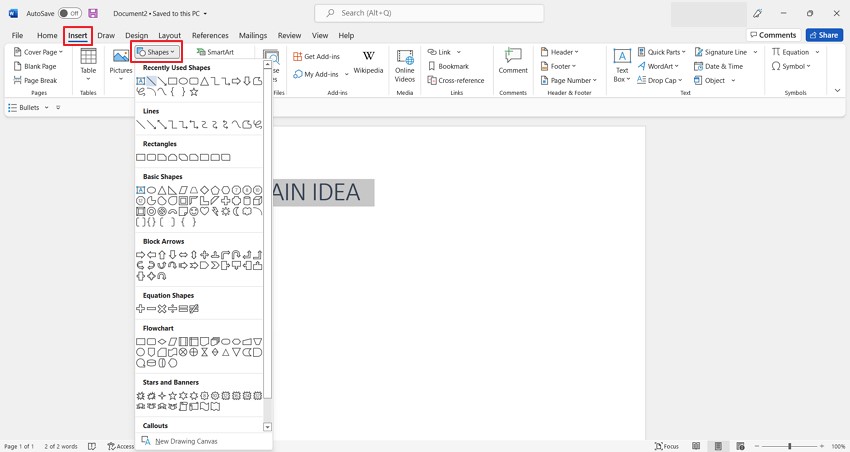
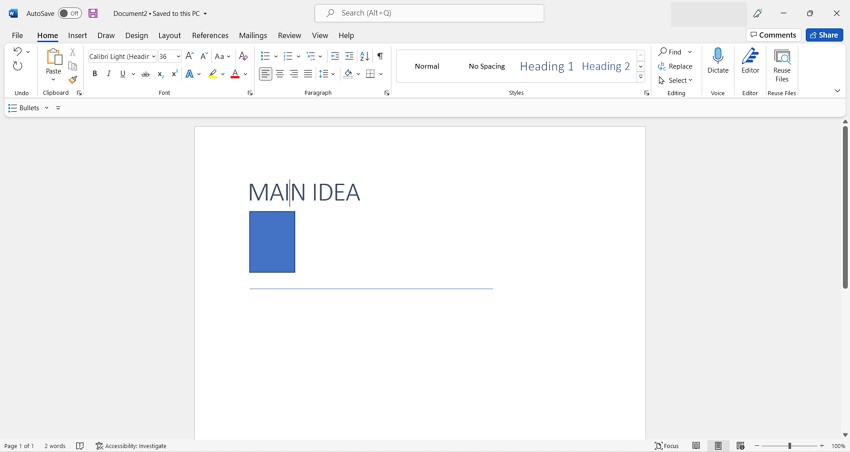
Step 3: Now, add a rectangular shape by accessing the "Insert" tab and choose a rectangular diagram from the "Shapes" tab. Adjust the rectangular shape either above or below the central line of the timeline to add content in an organized way. Adjust the color of the boxes accordingly through the shape format menu.
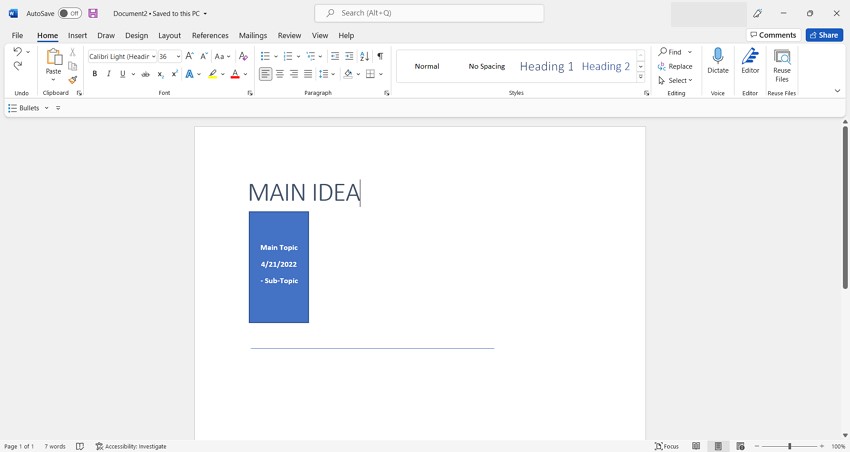
Step 4: To add content, insert text boxes on the rectangular box and write the text. Bold the headings and add details in bullet points.
Step 5: To make the rectangular box appealing, add white circles by going to the "Insert" tab. To fill the circle, go to the "Insert" tab again and click "Icon" to choose the entry. Adjust the icon accordingly with your text carefully.
Step 6: Now, to connect all the rectangular boxes to the central line, insert lines and small circles from the "Shapes" option. Make sure to check the alignment of the timeline for accuracy.
Word SmartArt Timeline
To make a SmartArt timeline on Word, read the following steps.
Design a Simple Timeline
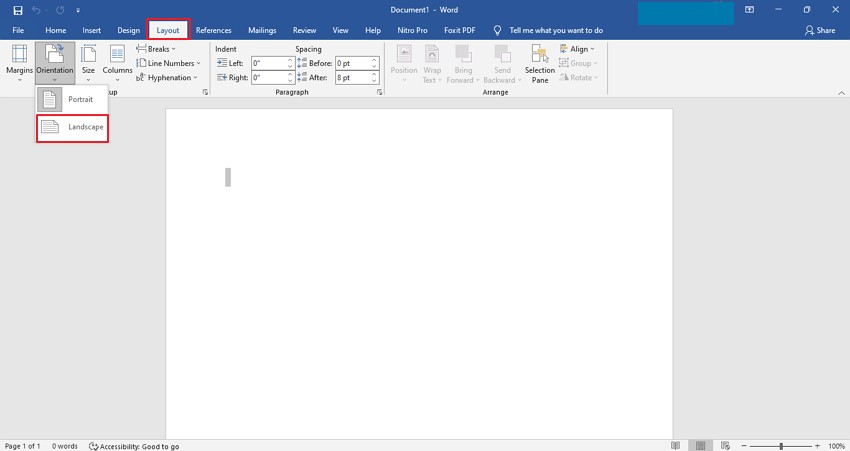
Step 1: Open a blank new Word document and modify the page orientation to "Landscape." To do so, reach the "Page Layout" tab and tap on "Orientation" to make more space for creating a timeline.
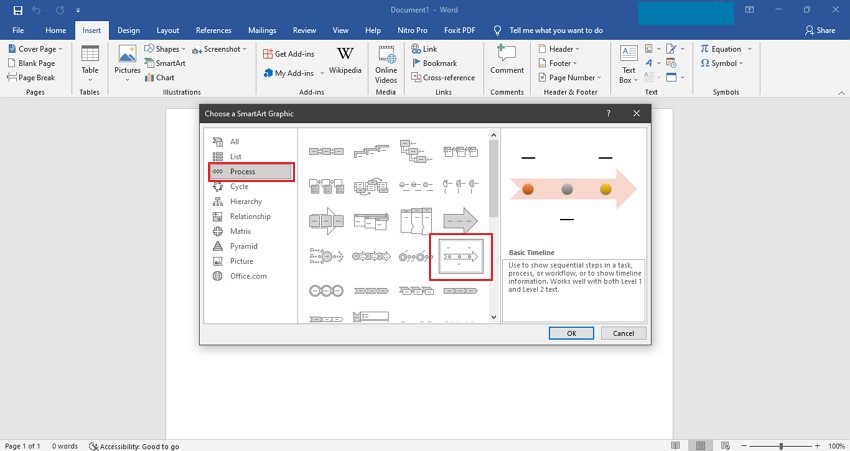
Step 2: Now proceed to the "Insert" tab above and select the "SmartArt" option from the displayed section.
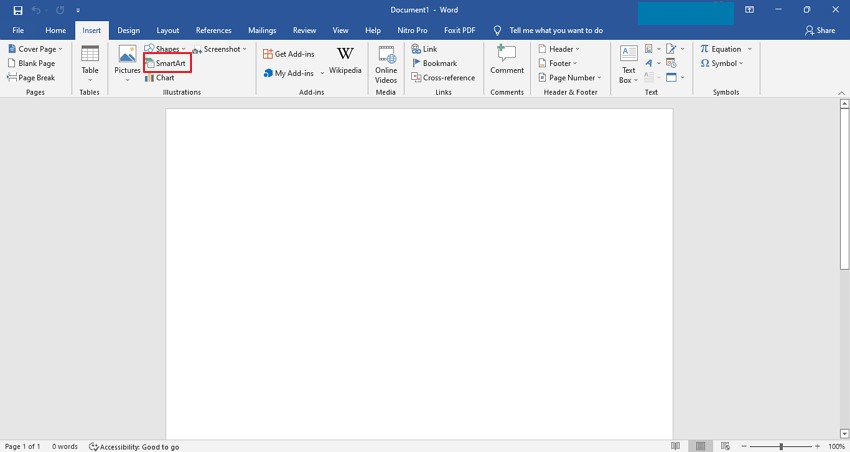
Step 3: On the SmartArt option, tap on the "Process" option, where you can find tons of diagrams of the timelines. To craft a simple timeline, we suggest you click on the "Basic Timeline" option.
Add Word Timeline Content
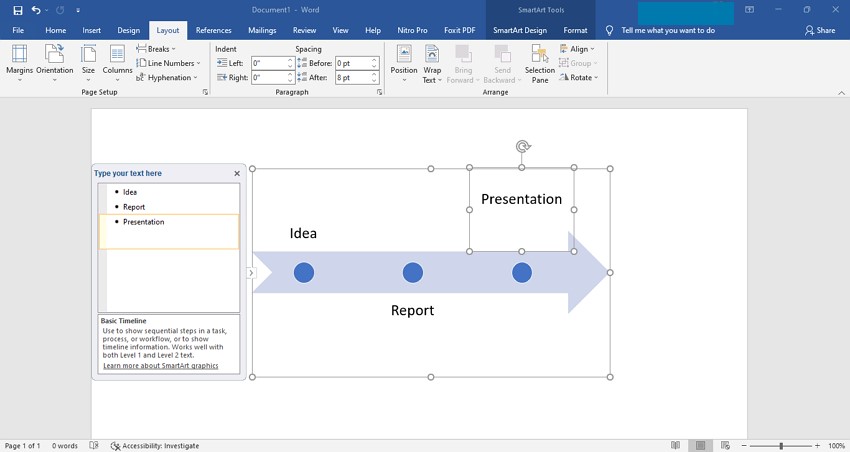
Step 1: Once uploading the diagram from SmartArt, tap on the "Text Pane" and type the data you want to enter. Add the milestone dates and related details on the text pane directly. You can also add a line break by pressing "Shift + Enter" to change the place of milestones.
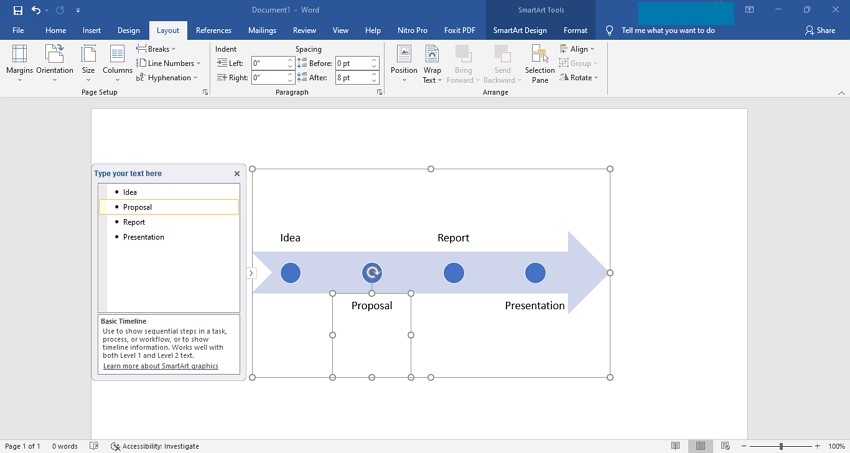
Step 2: To add more content to the timeline, simply press "Enter" and enter the information on the text panes. The Word will automatically adjust the size of your typed content.
Make Timeline Customization
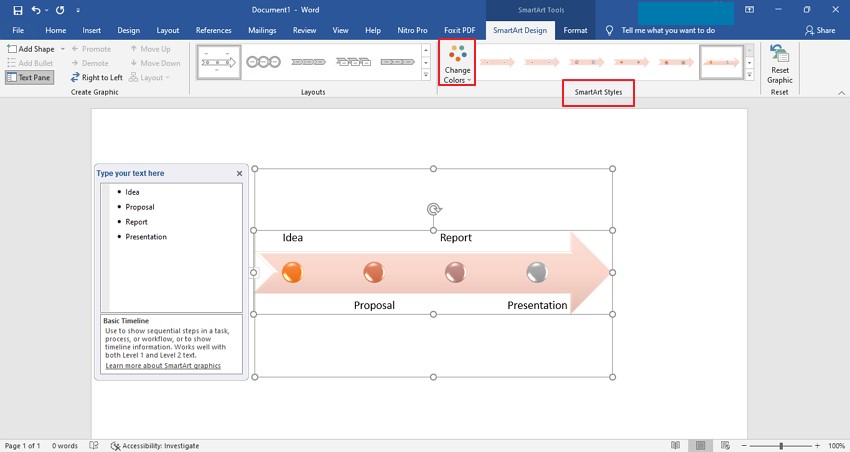
Now edit your basic timeline by changing the colors and styles of your timeline. To modify the colors, click on the "Change Colors" menu and select any of your favorite colors. Also, explore the "SmartArt Styles" tab to apply diverse effects on the timeline.
Timeline Editing Tips
To make your Word timeline more engaging, use the below tips:
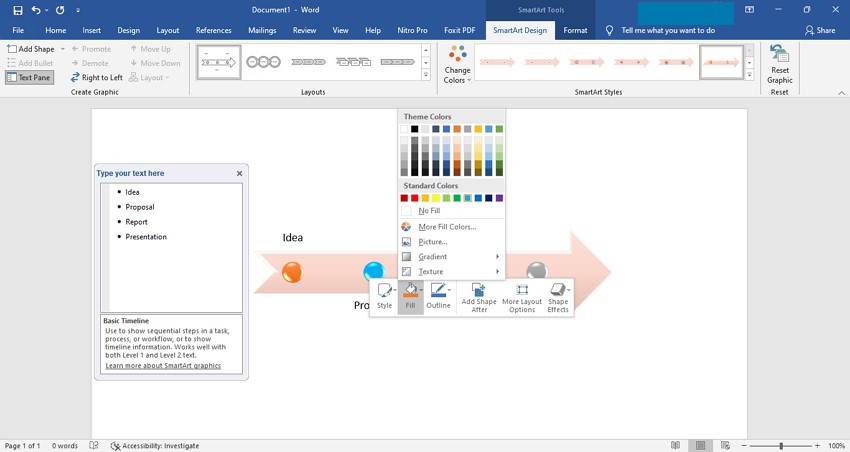
- To customize a specific part of the timeline, right-click on it to add colors. For instance, right-click on the milestone or arrowhead of the timeline and add colors to them by using "Shape Fill" and "Shape Outline."
![change milestone color]()
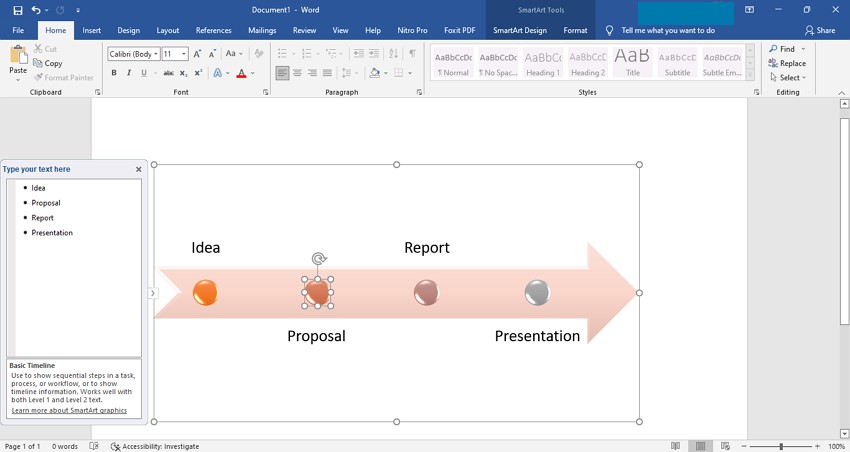
- You can also adjust the width of the timeline by using the drag and drop feature. You can also bring the circles closer to each other using the same technique.
![change the size of timeline]()
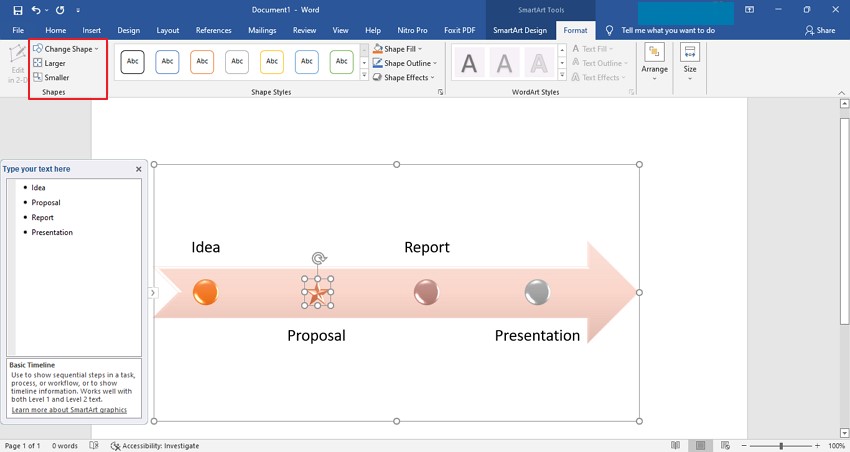
- To change the size or shape of milestones, navigate to the "Format" tab and apply various options to make your timeline look more professional.
![customize milestone size or shape]()
2. Limitations of Using Word to Create a Timeline
Even though you have learned how to create a timeline in Word but it has certain limitations that can prevent you from achieving perfection in your timeline:
- The user interface of Word is not designed in a way to assist the users in completing the timeline instantly. You have to begin by creating a design and have to follow each minute step to finish the timeline. As a result, working in Word takes a massive time span that is a hurdle in producing quick results.
- MS Word needs to work on its adaptability to allow the users to redo things instantaneously. In unfortunate cases, if you have to modify things in the timeline, you have to begin from the first step. This limitation depicts that Word needs to improve its flexibility so that users can execute changes anytime they want.
- In the case of multiple work projects, you would require to make multiple timelines in a timely manner. However, Word lacks to be a collaborative tool to manage big corporate projects at a time. Moreover, if you are working as a team, you cannot create and edit the timeline simultaneously on Word.
3. How to Create a Timeline in EdrawMind
With the EdrawMind tool, you can overcome all the limitations and problems that you would find while working in Word. This skillful tool has an extremely appealing interface so that users feel comfortable in creating the timelines for the work projects. You can take benefit from the key features of EdrawMind to precisely illustrate the timelines instantly and with great flexibility. To craft an impressive timeline, use the below instructions carefully:
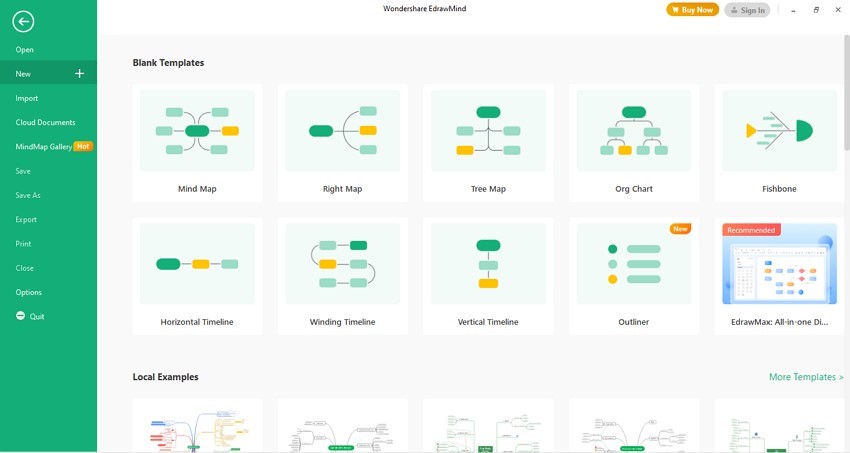
Step1 Choose the Desired Template
Initiate with running the EdrawMind tool on your desktop and open its interface after successful installation. On the main user window, you would be able to see various captivating templates for the timelines that are categorized separately. Select your favorite template and click on it to proceed.
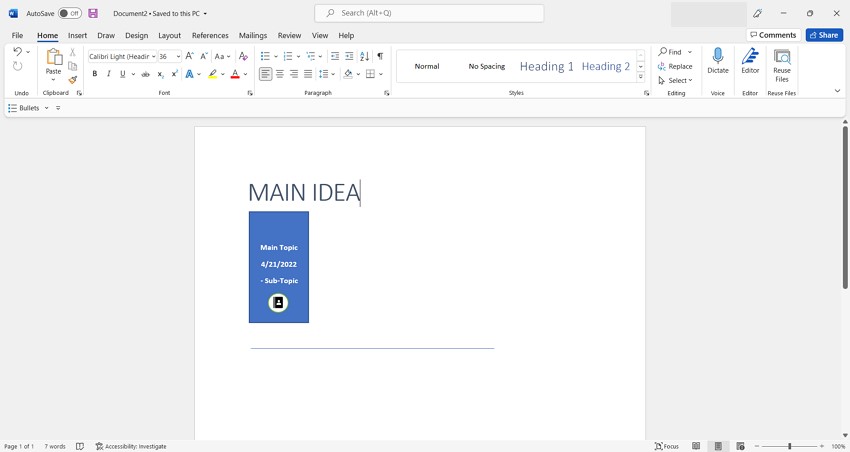
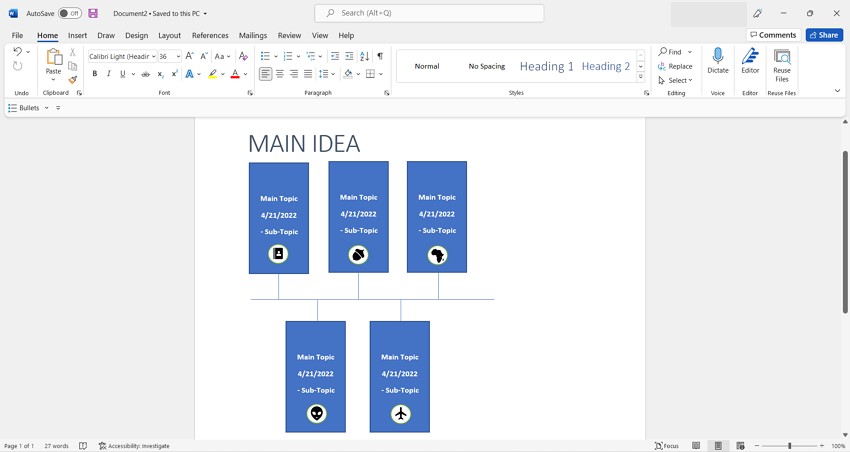
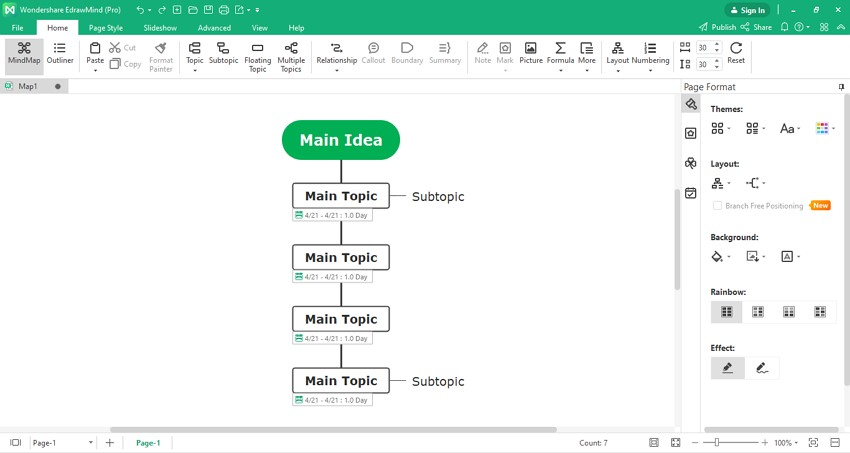
Step2 Design the Timeline
To create the timeline, use the combination of two buttons, i.e., Enter and Tab. To add a Main Topic at the end of the displayed timeline, simply press "Enter." On the contrary, to add the Main Topic in between a particular place, navigate to the cell and press "Enter." Or, if you want to add the Main Topic besides a selected Main topic, press "Shift + Enter."
For the addition of sub-topics, reach to a particular cell and simply press "Tab." The tool will automatically design the timeline through your keyboard shortcuts.
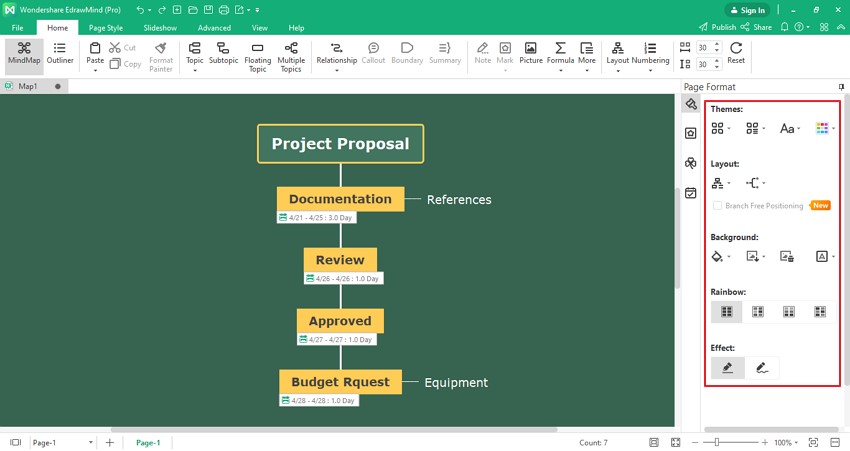
Step3 Edit the Timeline
While using EdrawMind, you would encounter several options to customize the timeline in an alluring way. Apply relevant themes and effects to add an aesthetic look to your timeline with a single click. For more proficiency, you can change the backgrounds, font styles, and color through the given options. Other amazing features include rainbow effects, clipart, and layout designs.
4. Save an EdrawMind Timeline as Word File
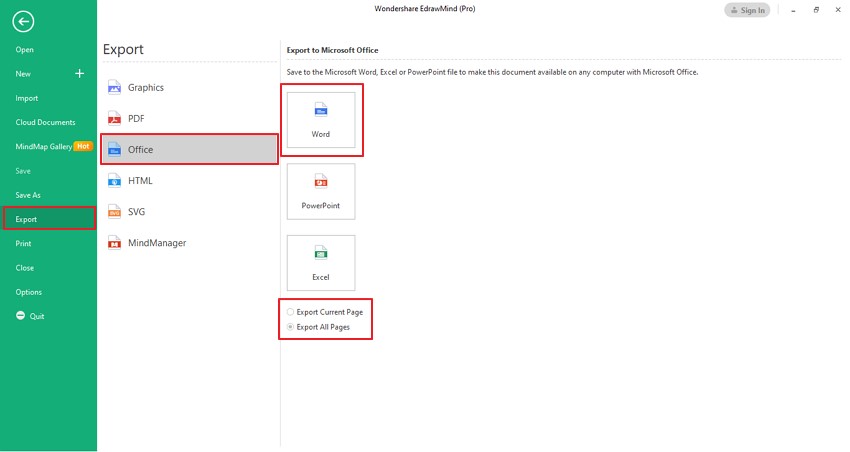
Any non-technical person can function EdrawMind due to its friendly user interface. Through this powerful tool, you can save and share the timelines as a Word file quickly. To save an EdrawMind timeline as a Word file, proceed to the "File" option on top and choose the option of "Export."
From the displayed options, tap on "Office" and decide whether you want to export current or all the pages of the file. Now click on the "Word" option and name the file to save it. Once done, click on the "Save" button, and your timeline will be saved as a Word file.
5. Templates of Timeline in EdrawMind
As EdrawMind is an advanced and efficient tool, it provides various categories of timelines, such as event timeline templates. To know more details, here are some great examples of the EdrawMind templates.
- Wedding Day Timeline Template
![wedding day timeline template]() Click here to download EdrawMind
Click here to download EdrawMind
(For Win)Click here to download EdrawMind
(For Mac)Click here to download EdrawMind
(For Linux)Wedding Day Timeline Template

Planning wedding functions are hectic and confusing due to numerous factors. With this template of EdrawMind, you can organize your wedding functions by systematically writing the planning on it. You add details of the wedding guests, arrival time, and the time adjustments of the rituals of the function.
- Baby's First Year Timeline
![baby's first year template]() Click here to download EdrawMind
Click here to download EdrawMind
(For Win)Click here to download EdrawMind
(For Mac)Click here to download EdrawMind
(For Linux)Baby's First Year Timeline Do you want to observe and calculate your baby's first-year growth closely? This template will help you to note down the essential details of your baby's body growth, such as teething, eating habits, responding to sounds, and other functions.
- Annual Meeting Timeline Template
![annual meeting timeline template]() Click here to download EdrawMind
Click here to download EdrawMind
(For Win)Click here to download EdrawMind
(For Mac)Click here to download EdrawMind
(For Linux)Annual Meeting Timeline Template Annual meetings need to be planned accurately to prevent any chances of error. This horizontal timeline template can assist in your managing a timetable, meeting places, important announcements, and other business-related details. By carefully classifying the time frame of the meeting, you can prevent chaos and mismanagement.


6. Key Takeaways
Through this well-described composition, we have provided essential steps on how to create a timeline in Word. Even though programs like Word can create timelines but you won’t be able to fetch appealing results. To make use of real-time collaboration with your teammates in a delightful environment, EdrawMind is a perfect option. Due to its incredible features like switching between multiple modes, themes and vibrant layouts, we recommend EdrawMind as an ultimate tool.
You May Also Like
How to Make a Concept Map
HOW-TO & TIPS
Innovative Solutions: Learn How to Brainstorm Like a Pro
HOW-TO & TIPS