How to Make a Decision Tree in Excel?
A decision tree is a mind map with a tree-like development layout. A mind map is a visual way of presenting an idea or topic systematically. The goal of a mind map is to plan and organize ideas quickly and easily. Mind maps consist of a main central idea and other connecting thoughts arranged around that central idea. There is no hard and fast rule when it comes to drafting a mind. Hence, they are very simple to use and can be useful to anyone who likes organizing thoughts. This article will teach you how to make a decision tree diagram in Excel without any hassle!
How to Make a Decision Tree in Excel?
Use MS Excel on your work territory and select a specific page. To make a mind map in Word, you can either use the fundamental shapes.
Before you begin spreading out your mind map, you need to have a particular subject in mind while using MS Excel. Recognize the important information about your topic and how they relate to it. To design the mind map Microsoft Excel use any of the going decisions
MS Excel has many ways to change and adjust the mind map. Just double-tap on the manual to adjust the minor changes you want to do. Use the Home Tab and Insert Tab to adapt your mind map.
At whatever point you have completed your mind map, click on File and save for dispatching the sub-window. Name your mind map, select the place where you want to save it, and snap-on Save.
How to Make a Decision Tree in EdrawMind?
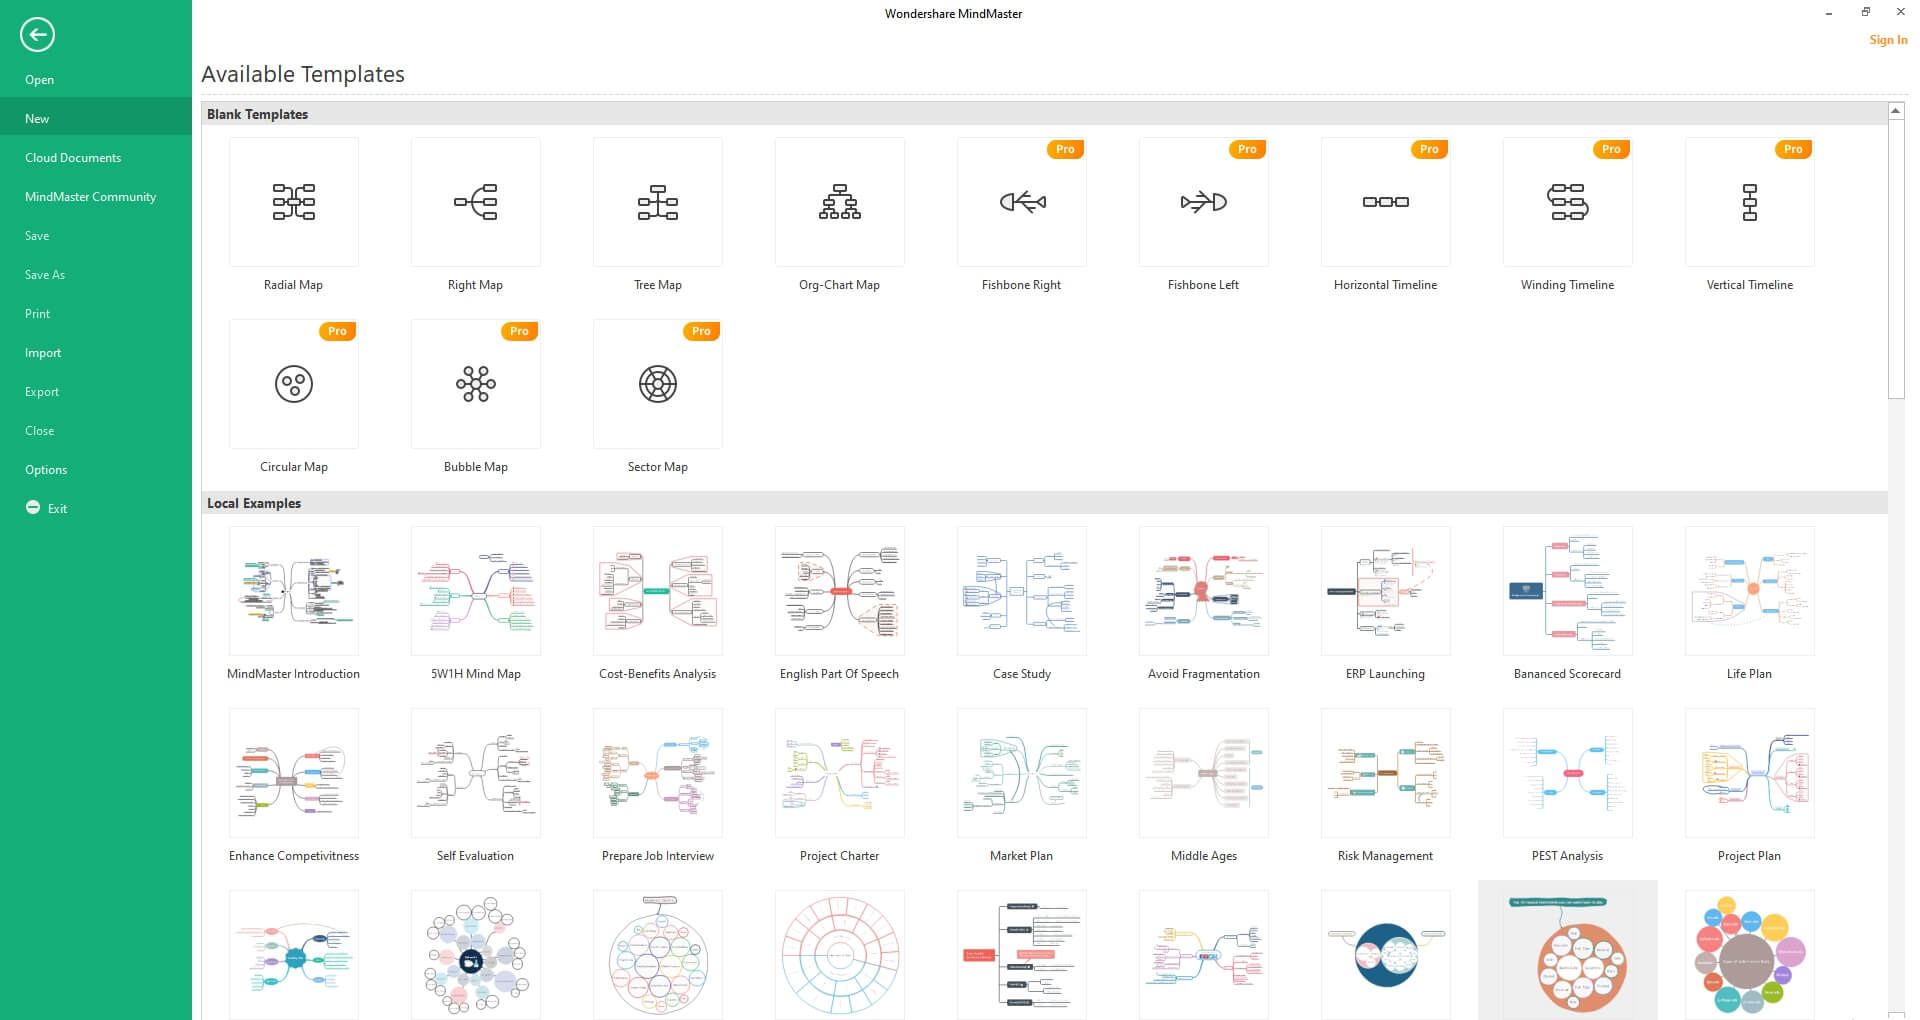
After you sign in to EdrawMind, click the New tab showing up underneath your email address. At that point, select the Project Management tab.
From the Project Management menu, select the Decision Tree tab. By then, a couple of designs will show up in the underneath fragment. You can pick any format, or you can similarly choose to settle on a Decision Tree without any planning.
To make a choice tree without any planning, click the vast + sign.
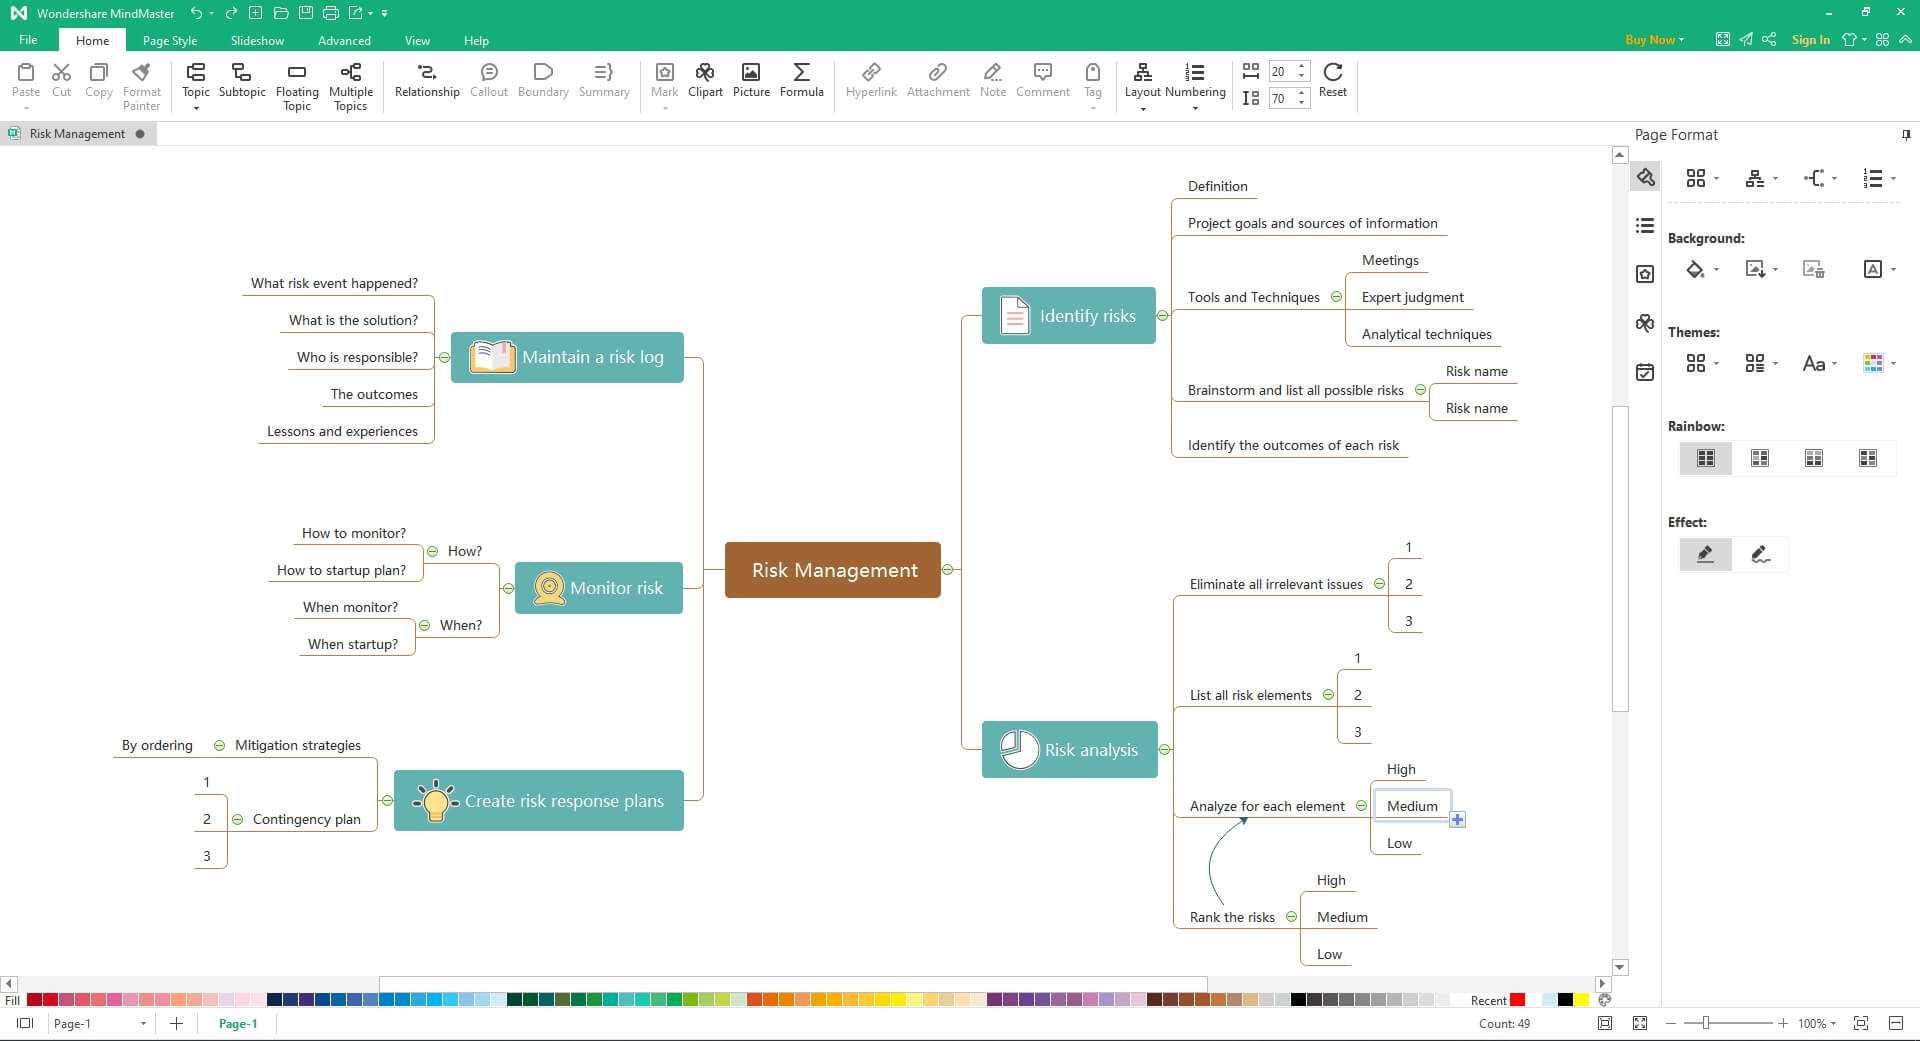
You can pick any organization from the open other option. Exactly when you click an arrangement, it will fix up in the EdrawMind online administrator. You'll have the choice to change the format according to your necessities. You can see a decision tree design open in the administrator under the picture.
Since you've opened the configuration in the chief window, you can adjust the design as indicated by your necessities. To displace the pre-set substance in the decision tree centers, click the placeholder text and type anything you want in the pre-set substance spot.
You can add or eradicate the centers as well. You need to draw another branch or center, by then snap on the center, which you need to set as the parent center point and drag the cursor to the child center.
How to Export a EdrawMind Decision Tree Diagram as an Excel File?
After you have made a Decision Tree in EdrawMind, you can save it in various organizations. If you need to save your Decision Tree in Excel design, it is a simple interaction of two stages. Follow the beneath steps to save your Decision Tree in Excel design, and this is how to make a decision tree in excel.
Click the upper left tab, starting from the drop menu, select Export. From the Export menu, select Export to Excel, and your Decision Tree will be saved as an Excel document to your PC.